Depth and atmosphere in landscape paintings is an essential aspect in order to breath life into the work. Often times, these two things can be the most challenging to accomplish, leaving us feeling like our painting is flat. In this article, we'll explore some tips and techniques for creating landscapes filled with atmosphere and I'll share a couple secrets I use to bring out the most in my paintings.

Note: This blog contains affiliate links and purchasing through them supports our site at no extra cost to you.
Some basic tips to improve depth and atmosphere
-
Use atmospheric perspective: One of the most effective ways to create depth in your landscape paintings is to harness the power atmospheric perspective. This technique involves using natural conditions, such as haze or fog, to create the illusion of depth. As objects move farther away from the viewer, they become less distinct and appear to fade into the distance. This is because the atmosphere scatters the light and causes a gradual decrease in contrast and saturation. So when you're starting your painting, use grays and lighter tones for the horizon and gradually increase the color as you get closer to the foreground.
-
Color temperature: Color temperature can also be used to create depth and atmosphere in landscape paintings. Warm colors, such as reds, oranges, and yellows, tend to appear closer to the viewer, while cool colors, such as blues, greens, and purples, tend to recede into the distance. By using warm colors in the foreground and cool colors in the background, you can create the illusion of depth and distance.
-
Play with contrast: Contrast can also be used to create depth in your landscape paintings. Using high contrast in the foreground and lower contrast in the background will create a sense of distance. For example, you could use a darker value and more saturated color in the foreground and a lighter value and less saturated color in the background.
-
Experiment with texture: Texture can also play a role in creating depth and atmosphere in landscape paintings. Try using thicker, more textured brushstrokes in the foreground and smoother, less textured brushstrokes in the background.
-
Add atmospheric elements: Adding atmospheric elements, such as clouds, mist, or rain, can also help create depth and atmosphere in your landscape paintings. These elements can help create the illusion of depth and distance and add a sense of mood and atmosphere to the painting.

Careful with the blues!
So there are a few secrets and personal rules I follow to make sure I'm bringing out the most depth that I can in my landscapes. One trick I use is to use cobalt blue for distant horizons or mountains. This color is pricey for a reason. The cobalt is vibrant, yet doesn't oversaturate color mixtures, making it a great choice for showing distance. I then transition to more phthalo blues in the foreground areas to make these parts of the paintings seem closer.
The sky is also a touchy area that you need to be careful with. Since we often times add blue to our skies, it can be easy to overdo it. Try reducing the amount of blue in the sky as you inch closer to where it meets the horizon. This will help make the horizon line feel further away.

Let there be light!
One surefire way to kill the atmosphere in your landscape paintings is by not showing enough light. You may not see it in your reference, but that doesn't mean you shouldn't go for it. Pick out 2-3 spots throughout your landscape and try to add a glow to those areas to highlight them. Get creative and bend the rules a bit. Adding additional light to a few objects on your landscape can drastically improve the sense of depth. You can try including this light as you go, or wait towards the end and scrub on transparent washes of light using some medium like liquin or walnut oil.

Use the right brushes
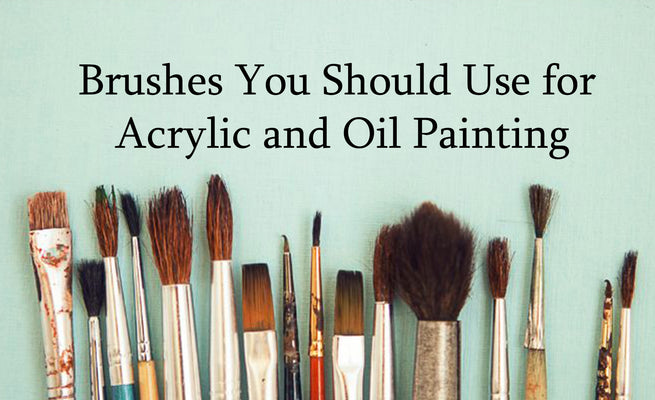
It's easy to grab the detail brush and jump right into a complex landscape, believe me, I get that. However, try to use slightly larger flat brushes to lay out your painting prior to using anything else. I work the painting with my favorite angled flat brush as much as I can before switching to detail, exhausting the brushes capabilities.
Having too much detail, especially in the distance, can kill the feeling of atmosphere in your work. So use a brush that can cover well and also blend at the same time. I like to use the round blender as well for adding features like fog or mist far off in the distance. Once I get into the foreground, I'll start incorporating the dagger striper brush which is my favorite for sharp, yet expressive details.

Remember that this is a long journey of patience and it will require ample amounts of experimentation to learn what works best. If you take things slow, start thin, and then work your way into thicker paint, you can help avoid a lot of headache. But with practice and determination, you can master these techniques and take your landscape paintings to the next level.


